Despite its popularity, Oriented Strand Board, or OSB, remains misunderstood. You can use it for exterior sheathing, but you can also use it for interior walls. Some individuals swear by its advantages, while others are skeptical.
To cover OSB Walls, first, apply polyurethane foam insulation to the sheetrock. Then, it’s time to decide if you want to use vinyl or polyurethane foam for the walls.
You can learn in this post how to cover OSB walls and what you cover them with.
Contents
What Is OSB?
Although it doesn’t have a sleek appearance, OSB comes with exceptional engineering. Its unique construction process produces a resilient and incredibly smooth texture.
An oriented strand board originates from compressed wood strands with various resins and adhesives.
After being dried, the strands are mixed with synthetic resin and then molded into thick mats. Unlike other wood products, oriented strands of boards in the right spots and places as alternating layers.
How to Finish OSB Walls?
Before finishing an OSB wall, ensure that it’s thoroughly cleaned and sealed. It will prevent water damage and prevent it from getting in.
Seal the Walls
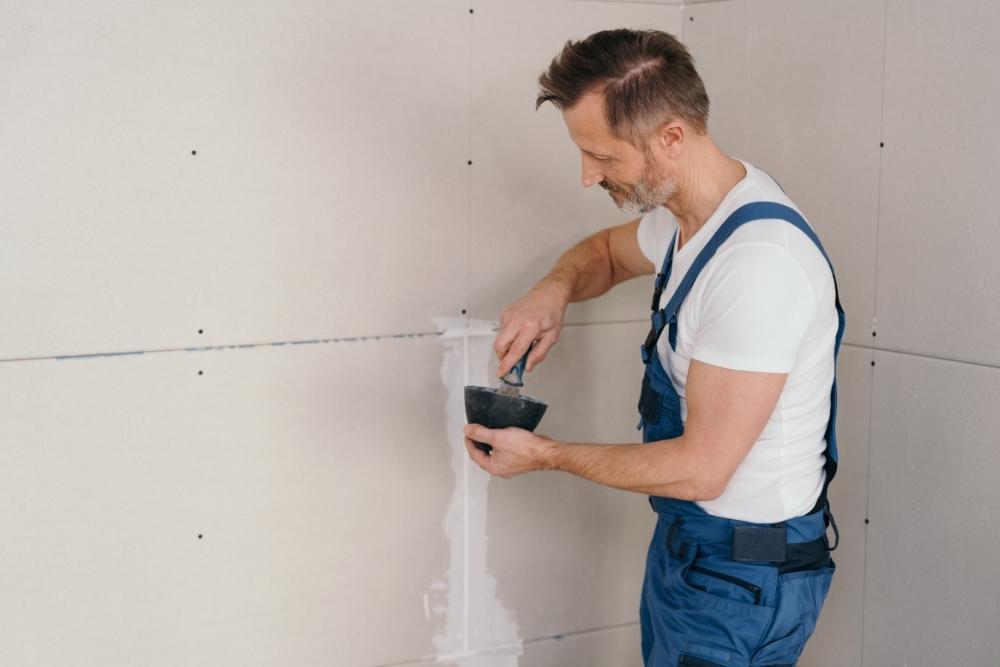
Getting the OSB walls painted or sealed is essential to prevent moisture from entering and causing damage. To remove the sheetrock, brush on a coat of polyurethane. It will allow the polyurethane to cover a typical 400 square feet of space.
After applying the polyurethane, you can use a drywall sanding block to remove loose or damaged materials. This step is also crucial because it will allow the polyurethane to adhere correctly to the board.
Before painting or applying a new coat of polyurethane, make sure that you avoid using harsh cleaning products. These products can damage the OSB boards.
Wait 24 hours after the first application to allow the polyurethane to dry completely. Before applying a new coat of polyurethane, make sure that you clean the area where you used it. Also, make sure that it doesn’t get on a heat source.
If you see that the walls have a lot of moisture, it’s essential to find the water source before it can cause damage.
Invest on Insulations
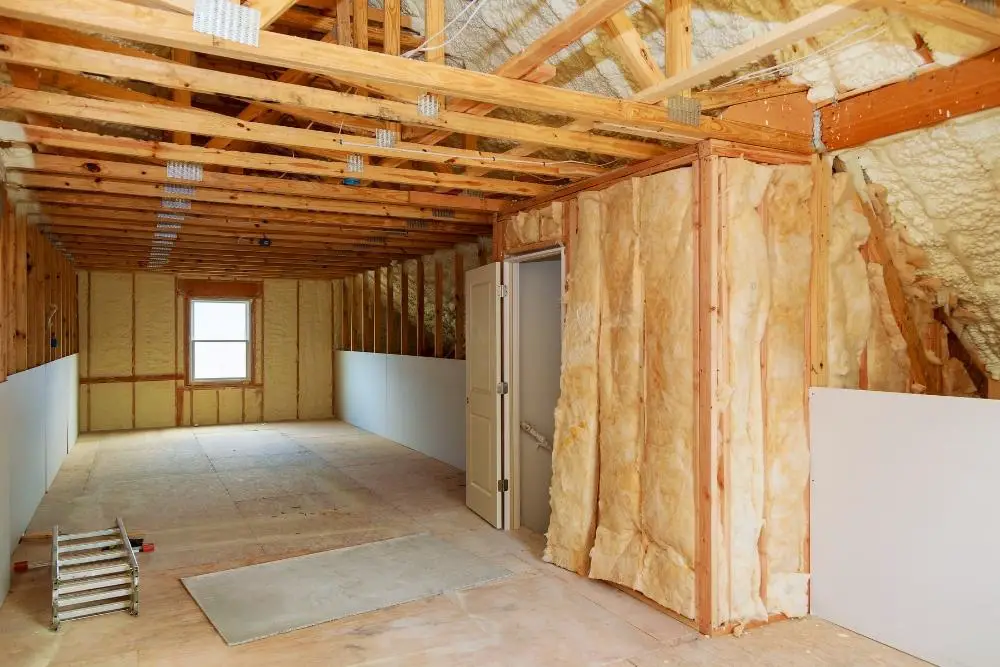
The next step in the process is tedious, but it can significantly impact the end product. You will want to use elbow grease to add some thickness to your walls, though it will take more grind to get it done. No pain, no gain.
If your foam is uneven, make sure you have enough coverage to cover all your walls. Many people mistake using a sponge instead of a trowel when applying polyurethane foam. It will cause the foam to drip down, making cleanup much harder.
Choose Whether You Will Use a Vinyl or Not
Before you decide on a new home, the last step is to determine if you would like it to be modern-looking.
Although it may seem insignificant, adding a few extra layers of paint can make a big difference in your house. Doing so should be carried out carefully, as it can require re-sanding.
If your walls come with polyurethane, you should avoid using vinyl since they will not work well together. Many people mistake not finishing their insulation before they start painting or wallpapering it.
Before you commence painting, make sure that you have thoroughly covered the foam insulation with a coat of polyurethane.
If your walls only have one layer of foam, you might consider using a different material such as vinyl. It gives them a different look and feels than polyurethane foam.
Seal all areas where moisture can enter before you start painting. Doing so will prevent the water from reacting with the foam insulation and causing it to become damaged.
If you find areas of your walls prone to moisture damage, try selling them and using caulk. It will keep the moisture from damaging your home.
Make sure that you thoroughly clean the polyurethane before you start applying it. Although it can be very explosive, you should not use it if there are signs of moisture.
You can easily purchase vinyl at any home improvement store for around $30 per square foot. However, it will require around two to three coats to fully cover the walls.
Many people do not know that they can paint over the vinyl to give it a different look. It allows them to change their home’s design later on.
Wait for the Walls to Dry
After covering all of your walls, it’s essential to wait a day to get them ready for painting. You can apply some of the necessary materials to the areas that need to be filled in, such as the small gaps. You can also use a pre-mixed silicone caulk.
If you are looking for a more durable alternative to polyurethane foam, try vinyl. It will carry you about seven days to dry completely.
After the first coat is dry, you will be ready to apply the last two coats. These previous two coats will cost you around $0.75 and $1.25. Although you might choose to use a different material, it’s still important to remember that it will still provide good insulation.
It’s important to remember that painting outside shouldn’t take away from the importance of keeping the walls inside sealed.
Types of Finishing OSB
Due to their versatility and value, OSB boards are becoming more popular among various construction professionals. These boards are ideal for multiple applications such as flooring and structural components.
Varnishing OSB
It’s better to use a solvent-based varnishing method for OSB boards. This method allows you to get the best results. One of the essential factors that you need to consider when making a good-quality OSB is the thickness of the varnishing.
Two to three coats of OSB board for most flooring applications is enough. However, it’s also ideal for applying a coat of sealed varnish or parquet.
Painting OSB
OSB boards are very adaptable to various environmental conditions. However, they can get damaged during the installation process due to excessive water. It can be caused by using ordinary wall paint.
Water-based paints can cause the OSB boards to swell, which is a common issue with these materials. However, the best solution is to use good-quality paint for a high-quality finish.
Glazing OSB
The glazing in an OSB board ensures that its overall appearance remains consistent. This method also provides a good quality finish for the board. Aside from this, it allows you to see the surface structure easily.
It is essential to use a combination of sanding and protective varnishing for the finish of OSB boards. However, applying too much coating can cause the OSB surface to become darker. It is essential to use a single protective coating for a high-quality finish.
Oiling OSB
Oiling is a straightforward process for OSB boards. However, it’s essential to apply a layer of sand before the oiling process begins. It will allow the oil to penetrate the wood and give it a high-quality finish.
While oiling, be careful as the OSB may contain harmful chemicals. It is because it contains natural resins.
Frequently Asked Questions
Can OSB Be Used for Interior Walls?
An Oriented Strands Board is an excellent choice for the interior walls of your home. Its structural support and vapor barrier properties make it an ideal choice for minimizing moisture buildup.
The interior OSB originates from non-toxic materials that don’t contain harmful chemicals. These additives help extend its durability and prevent it from getting damaged. With the addition of wood strands, OSB can be painted or left uncolored for a beautiful textured finish.
Which Side of Osb Should Be Up or Facing Out?
When woodworkers install OSB, they may find that one side has a rough side. Likewise, one side may have “This Side Down” stamped.
OSB has one rough side for the safety of the users. The wild side helps keep the workers safe when working on a sloped roof. The rough side should also be facing up to provide traction when installing sub-flooring.
When working with sealant-treated OSB, it is essential to keep the rough side of the surface in mind to avoid creating more slippery conditions.
Conclusion
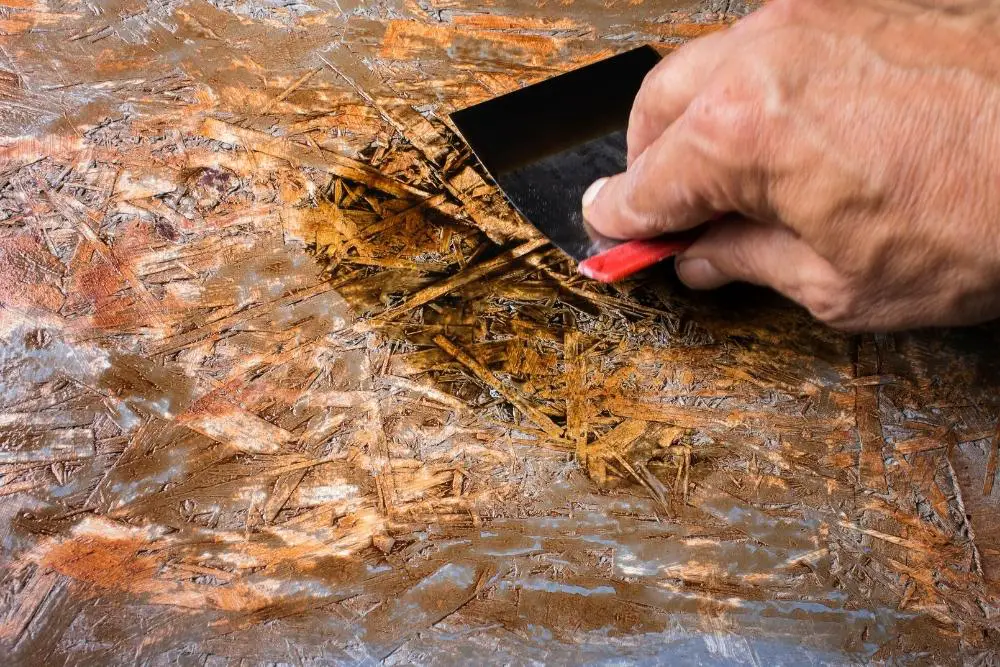
You can use various methods to cover OSB walls, like putting insulations and then putting vinyl on the outside. OSB is a natural wood product that can last for a long time. However, it can also get scratched due to various factors.
To prevent this, you can sand the surface with a bit of OSB dust and mix glue and filling compounds.