PEX pipes are an alternative to copper pipes and are far more cost-effective than the traditional copper pipes and are definitely easier to install. Perfect if you are remodeling your house as they are really flexible and easy to maneuver.
They are simple to install into your bathroom or shower and can be used wherever any old copper pipes or other pipes were used. They can be used for residential or commercial plumbing.
Using PEX pipes to plumb in your bathroom is quite simple. The first thing that you need to do is drill where you want your water lines to go. Secure the PEX pipes and then check for any leaks or complications.
If all looks good you can go ahead and connect your manifold. It is advised that you use different colors for hot and cold water lines.
Contents
- 1 What is PEX Piping?
- 2 How to Plumb A Shower with PEX: A Step by Step
- 2.1 Step 1: Drill
- 2.2 Step 2: Running the water lines
- 2.3 Step 3: Pulling the lines into place
- 2.4 Step 4: Securing the Lines
- 2.5 Step 5: Setting Slack
- 2.6 Step 6: Placing a Rough Sub
- 2.7 Step 7: Applying Crimps
- 2.8 Step 8: Using PEX 90
- 2.9 Step 9: Soldering the Fittings
- 2.10 Step 10: Positioning the Manifolds
- 2.11 Step 11: Aligning the Template
- 2.12 Step 12: Attaching the PEX Ball Valves
- 2.13 Step 13: Pulling the PEX lines
- 3 PEX Pipes In A Shower
- 4 What size should you use for a shower?
- 5 FAQs
- 6 Conclusion
What is PEX Piping?
PEX is short for cross-linked polyethylene, it costs half as much as copper pipes and can be installed much faster. PEX pipes are also flexible which means it makes any remodeling job straightforward. PEX piping can be bought in large coils but it can be extremely difficult to work with as it has a strong memory.
It can be like trying to straighten out a giant slinky. To avoid this problem it is advised to purchase it in 10 ft lengths, it may cost a little more but will save you a great deal of stress.
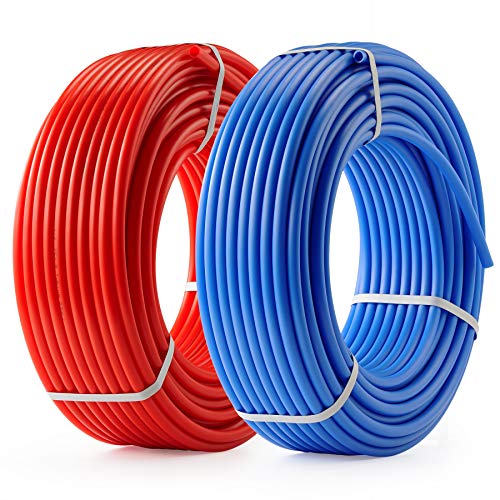
- 600 PEX PIPE: This PEX-B tubing comes as two 300 foot coils of hose (color coded red and blue) to cover all your home improvement needs, whether radiant heating for your floor or snow-melting system, cold/hot water delivery system, water lines for your home or camper, or other plumbing or HVAC uses.
Prices pulled from the Amazon Product Advertising API on:
Product prices and availability are accurate as of the date/time indicated and are subject to change. Any price and availability information displayed on [relevant Amazon Site(s), as applicable] at the time of purchase will apply to the purchase of this product.
Advantages of using PEX
PEX is a great material to use for your plumbing. It has so many advantages, especially if you are doing some home remodeling.
One great positive is that PEX pipes come in longer lengths which eliminates the use of some joints. Obviously, you will need to use joints but not as many. Perfect if you’ve got a lot of areas to cover with pipes.
PEX has a higher R-value compared to other plumbing materials. The R-value, also known as thermal resistance, is the measurement used to measure the insulation of materials. Essentially this means that PEX is ideal for keeping your energy bills down, as it keeps hot water hot as it flows through the pipe.
One big difference between copper and PEX pipes is that over time copper can corrode, especially if you live somewhere that is known for having acidic water, whereas PEX won’t. This is great news as PEX pipes will last longer and be more beneficial in both the short term and the long term.
How to Plumb A Shower with PEX: A Step by Step
Step 1: Drill
You want to start with drilling the sub-plate or still plate for each water line. You can drill for a hot and cold line, or you can do it for one single line. It is important to ensure that all the holes are drilled at the same level and are parallel to the floor.
Step 2: Running the water lines
Now it’s time to run the water lines through the holes you have just created. Most of the time they can come from the floors, however, sometimes they may be fed through your wall. When drilling the holes, it is definitely recommended to drill in the center so you don’t damage any pipes.
Step 3: Pulling the lines into place
You now want to pull the lines through the holes and attach them to where the water supply will be. Please note that it is recommended to leave extra pipes on either side.
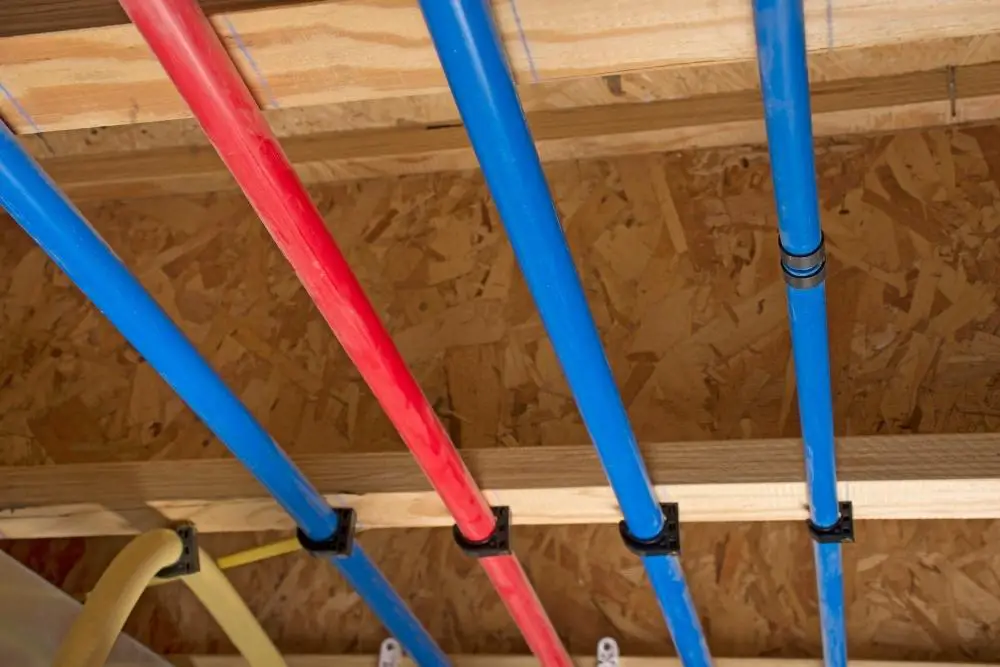
Step 4: Securing the Lines
To secure these lines you should use clamps to keep them secure and in place. Remember to keep the hot and cold pipes separate and don’t secure them close to each other as this may cause more heat transfer.
Step 5: Setting Slack
Keep in mind the eventual expansion and contraction of the line, so make sure you leave some slack on the line.
Step 6: Placing a Rough Sub
Not sure what a rough sub is, well let me explain. A rough sub is a uniquely designed copper fitting that will mold to the PEX pipes. It is designed to ensure that there are no leaks or damages to the pipe.
You essentially push water or air through the pipe to identify any leaks. Now you can put the walls up and then cut the cap which will allow you to install the finish valves.
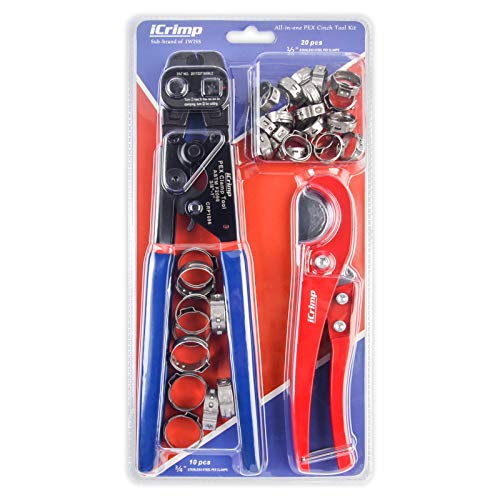
Step 7: Applying Crimps
Prices pulled from the Amazon Product Advertising API on:
Product prices and availability are accurate as of the date/time indicated and are subject to change. Any price and availability information displayed on [relevant Amazon Site(s), as applicable] at the time of purchase will apply to the purchase of this product.
This is the most vital part of this installation project. A leak can apply if the crimps are not applied correctly. To ensure it’s done correctly cut the PEX pipe straight and slide the crimps into and down the pipe. Then place the end of the pipe on the shoulders of the fitting.
You may want to use pliers to really make sure that the pipe is secure on the fitting for more efficiency. You also want to make sure that the crimps are as close to the end of the pipe as possible.
Step 8: Using PEX 90
It’s now time to fit all the end-points onto the pipes. You can use a fitting called PEX 90, it can be placed in the mixing valve. You can then connect it to the PEX water line, however only when it is cool enough. Before you start the smoldering process make sure you have removed any part that may be affected by heat.
Step 9: Soldering the Fittings
Make sure that you have positioned the fittings so that they are face down when the valve is hung. You may be thinking, what does soldering mean? Well in simple terms it refers to the process of joining two metals together by melting solder.
When everything is positioned, solder them into position and ensure they are fully cool before moving on with the next step.
Step 10: Positioning the Manifolds
Manifolds, what are they? Manifolds are used to distribute hot and cold water to the other appliances around the home. So now you can bring the waterlines through and connect them to the manifolds. Make sure the manifolds are positioned at eye level and then screw the top mounting brackets into the studs.
Now you can attach that bracket and the bottom bracket to the manifold. Before you continue with each step make sure it is safe and secure to proceed.
Step 11: Aligning the Template
First things first, align the template to the manifold and using a pen or pencil make a mark. Remember not to damage the manifolds during this process, so when you start drilling the holes make sure you remove the manifold from your workspace.
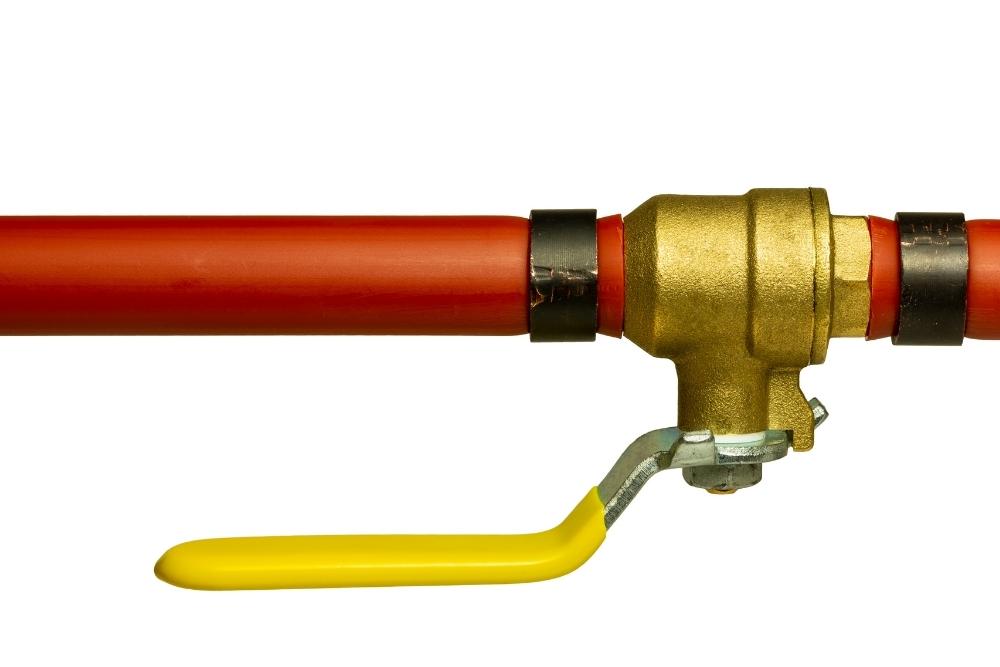
Step 12: Attaching the PEX Ball Valves
Now that all the correct holes have been drilled and you have attached the manifold, you need to connect the manifold to the PEX ball valves. Screw it on correctly and securely, and double check that each line gets its own shut-off valve.
Step 13: Pulling the PEX lines
The last step is to make sure that the PEX ball valves are secured, and pull the PEX lines up. Take extra care not to kink them.
If you would rather have a visual step-by-step guide, check out the youtube video below.
PEX Pipes In A Shower
PEX is a great option for plumbing in a shower. One advantage of using PEX pipes for your shower is that they expand meaning the issue of hot and cold water is resolved. Another small added bonus is that you can allocate each temperature with a different color.
You have three options when it comes to choosing the right PEX pipe for you. PEX-A is a bit more expensive, however, its only advantage over the other two is that it is a little bit more flexible. PEX-B can be a little bit stiffer compared to PEX-A and then PEX-C is more difficult to work with.
Something to consider during fittings is that you make the connections watertight. Here are some common methods for making watertight connections:
- Copper crimping.
- Expansion connection.
- Push-fit connections.
- Compression fittings.
- Stainless Steel Clamps.
What size should you use for a shower?
Usually, a 1/2 inch or 3/4 inch is usually effective enough for a shower. You may think that there is a specific limit that you need to keep too but that’s not the case.
When you are swapping the old pipes for the newer PEX pipes use the same standards and measurements. Plumbers usually use a manifold system when fitting showers.
Another factor you need to keep in mind is the width of the line. For example, a narrower line will help conserve water but will fill your bathtub up slower. You also need to consider water pressure and a potential drop.
Essentially, the shorter the length the smaller the width is ideal.
FAQs
Can you use different joints if they aren’t from the same brand/manufacturer as the PEX pipes?
No, it is recommended that you use the same brand joints and pipes.
Does it meet the code?
There isn’t actually any unified national plumbing code, however, before using PEX I would recommend double-checking with your local inspector to make sure you are still meeting your local requirements.
Can you put hot water through PEX pipes?
Yes. You can put both hot and cold water through PEX pipes.
Conclusion
PEX is a system that can simplify plumbing for the DIYer by requiring fewer connections due to its flexible state. It has a higher thermal resistance value and also does not corrode like copper piping. It is also suitable for any bathroom remodeling that you are thinking of undertaking.
If you are looking at using PEX in your bathroom ensure that you opt for the longer lengths rather than the coil as it can be extremely difficult to work with.
Decide whether or not you are going to use a manifold (it is not essential) and then follow our step-by-step guide above. Your bathroom will be all plumbed-in in no time at all.