Water likes to plunge into places where it doesn’t belong, and one of its favorite places to visit is the gap between the floor tile and the tub. Unfortunately, this habit can lead to the ruination of your tub for good. A simple solution is to close the gap between the floor tile and the tub.
One of the best ways to close the gap is by applying a good quality caulk. Before working on the project, measure the opening and pick out a good-quality product.
After that, prepare the gun and apply the caulk. Rub the finger over the surface to smooth it out. Finally, let the product dry.
This post will teach you the step-by-step procedure to fix/seal those gaps.
How to Fix/Seal Gap Between Tub and Vinyl Floor?
It’s always a bit of a riddle how water will do something. Sometimes it can go into places that it shouldn’t. Below are the phases you can follow to fix the gaps between your tub and vinyl floor quickly.
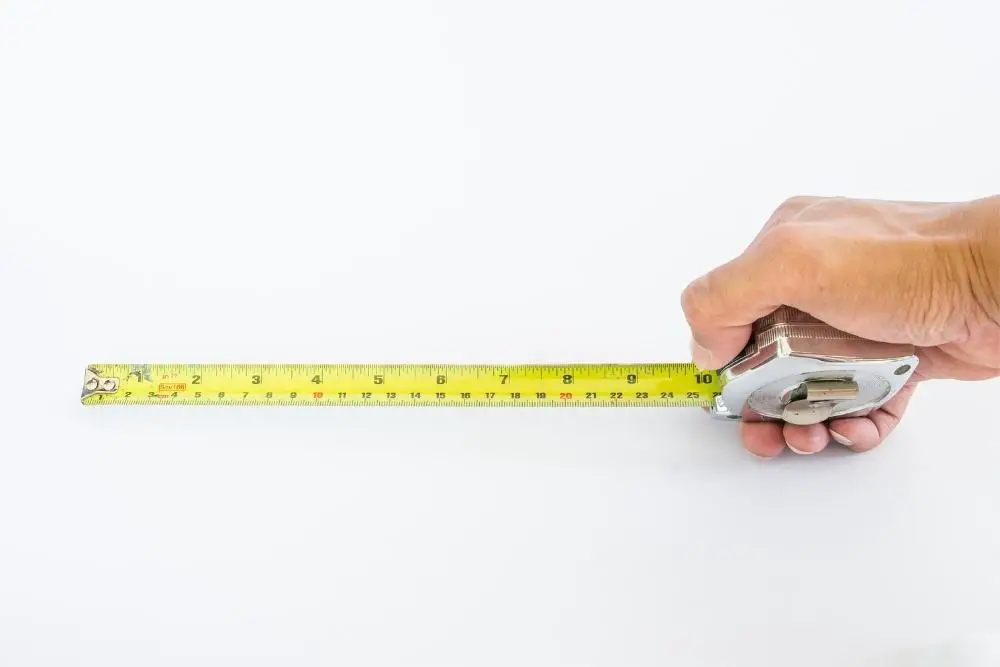
Measure the Gap
There are gaps around your home, such as the gap between the kitchen and the floor tile. The first step to closing a gap is to measure its length.
The size of the gap will tell you which direction to go next. For instance, if you need to apply a specific type of caulk, the size of the gap will help you determine which one to use.
After you have found the exact size of the gap, jot it down. It will allow you to access the measurements in the next step quickly.
Choose the Caulk
The size of the gap is the most crucial factor that you need to consider when it comes to choosing the right caulk. It’s also important to note that the suitable material needs to fit seamlessly into the space.
If the gap between the two sheets is less than 1 inch, you can use regular caulks. However, if the damage is more significant than 1 inch, you need to use sanded caulk.
In addition to regular maintenance, your bathroom also needs to be maintained. According to experts, water in the facility can affect the quality of the caulk that you use. It is because the water will constantly battle with the material.
Before you start working on a project, you must give the caulk some strength by following the correct procedure. It will allow the solution to exert its will and close the gaps.
Although you might think that a waterproof caulk would be too risky, this type of material will not get damaged even if it gets exposed to water.

Prices pulled from the Amazon Product Advertising API on:
Product prices and availability are accurate as of the date/time indicated and are subject to change. Any price and availability information displayed on [relevant Amazon Site(s), as applicable] at the time of purchase will apply to the purchase of this product.
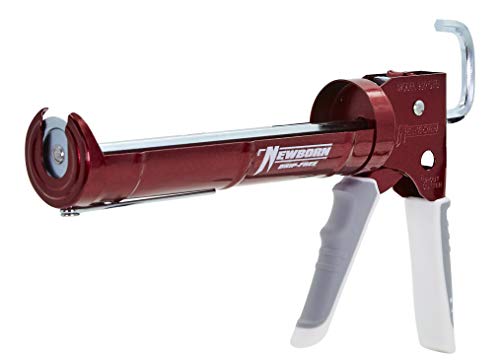
Form the Caulk Gun
You will also need to prepare the gun for some action. Although you won’t be able to use a real gun, you can still have fun with the caulk gun.
The first step in this procedure is to cut the tip of the tube’s nozzle. You can do this using a sharp knife or a caulk gun with a nozzle cutter.
If you’re planning on using a knife, make sure that you hold it at an angle of 45 degrees. It will give you the necessary precision to make a smooth cut.
If you have a nozzle cutter, you need to put the tube’s tip inside the blade. After squeezing the handle, the nozzle will open. You will then need to insert the tube into the gun’s cradle. Once the cradle is ready, use the gun to apply the sealant.
Prices pulled from the Amazon Product Advertising API on:
Product prices and availability are accurate as of the date/time indicated and are subject to change. Any price and availability information displayed on [relevant Amazon Site(s), as applicable] at the time of purchase will apply to the purchase of this product.
Lay the Caulk on the Gap
After you assemble the caulk gun, you can start applying the exterior layer of caulk to the gap. You have to make sure that the device’s angle is at a 45-degree angle. Once you have done this, you can start pressing the trigger.
After pressing the trigger, the nozzle will release the caulk smoothly. You can then slide the gap between the gun and the caulk until it fills up.
If the flow of the caulk is slowing down, you need to press harder to push it out. It will allow you to get more of the product.
While applying the caulk, it’s essential to ensure that the application is as smooth as possible. However, it will not be a problem if you fail at this step.
Smoothen the Caulk
You have to smooth out the surface of the caulk first. To do this, just run your finger across the surface of the container. It will help remove the buildup and give it a smooth finish.
Even though your fingers may get dirty, you can still clean them with wipes. You can still get rid of the caulk by scrubbing your hand. With a smooth and creamy finish, your bathroom will look amazing.
Before running your finger, you can also dip it in water. It will allow you to thoroughly clean and smooth the surface of the caulk.
After taking out the excess caulk, use toilet paper to get rid of the excess. It will allow you to have a smooth and finished finish.
Let It Dry
After all the hard work, the last step is to wait for the water to dry up. It will allow you to apply the new caulk if necessary.
You should let the solution dry before working on the next steps of your bathroom renovation project. The drying process can differ depending on the type of caulk that you use.
Before you start applying the new caulk, make sure that you thoroughly inspect the instructions. However, most latex-based products tend to dry up quickly. It will allow you to apply the new material without waiting too long.
Frequently Asked Questions

How to Repair Large Gap Between Tub and Floor?
You need to use another sealant or contact your trusted professional to fix your problem. Applying the wrong type of caulk can cause the gap to grow even more significantly. Also, you should seal the floor tiles with a particular type of grout to ensure their long-lasting service.
You will also need to apply the correct type of sealant to your bathroom floor, depending on the kind of tiles it has. For instance, if you have natural or porous tiles, you should apply a penetrating sealer.
Before you start applying the product, make sure that you thoroughly inspect the tiles to determine their type. You can also ask the help of a professional to install the appropriate variety of sealants. After cleaning the surface, use a sponge to apply the product.
Can I Clear the Old Caulk From the Vinyl Floor?
Yes, even though it can be hard to remove old caulk from your vinyl flooring, it is possible. First, you must close the tub and the floor gap to allow the old material to remove.
You’ll need a couple of essential tools, such as a puttie knife, a razor blade, and a couple of acetone and tweezers. After that, you can remove the old caulk by using the edge to break it down.
After that, use acetone to clean the area. However, be careful not to leave any residue on your skin since it can be incredibly flammable.
Conclusion
You can use various products to fill this gap, such as a sealant and a caulk. However, before you use the bathroom for the next couple of days, make sure that the products are thoroughly dried. It will allow them to last for a long time.
If the joint has latex caulk, you might want to heat it to remove it. Doing so might cause the adhesive to burn, and you might accidentally leave the heat gun in one place. You can also use latex caulk to fill the gap.