If you frequently use your fiberglass tub, it can develop hairline cracks over time. It can be because of various factors such as improper support, heavy objects hitting it, or a lack of protection.
You can fix a fiberglass tub crack by purchasing a kit with various tools and supplies. However, if the damage is too extensive, you might need to hire a professional to fix it. Usually, this type of repair costs more.
In this post, you will learn how to fix different types of fiberglass cracks. A suitable kit can allow you to quickly repair these types of cracks and prevent them from damaging the whole tub.
How to Fix a Fiberglass Tub Crack?
Although fiberglass bathtubs and showers are durable and attractive, they can still have cracks by accidental damage. Fortunately, you can use various kits to fix this issue.
Find the Best Kit for Your Tub
Before shopping for a new bathtub or shower, make sure it is fiberglass. This type of material will not only look good, but it will also perform better than cast iron.
If you’re planning on using a fiberglass shower, make sure that it originates from solid fiberglass, and you should tap it with a wooden spoon or a knuckle. The unit will have a soft, non-metallic sound and may seem flexible at specific points.
You can choose the appropriate color for your kit by selecting the suitable colorants. You can use these products to change the product’s appearance to match various standard fixtures, such as white, almond, or off-white.
Before buying a kit, ensure it includes all the necessary tools and materials. Some products you might want include Polyester resin hardener, a chemical that helps harden the resin. Other products you might wish to include fiberglass mat or mesh, colored sandpaper, thickener, and protective gloves.
Clean the Area to Fix
To clean the damaged area, cut any glass fibers that are protruding or jagged. Using medium grit sandpaper, sand it lightly with a clean and sharp blade to remove surface contaminants, such as oil, soap scum, and wax.
After that, wash the area with water and acetone to ensure that the repaired product adheres appropriately.
Check if It Needs Fiberglass Cloth Reinforcing
If the damaged area requires fiberglass cloth reinforcing, skip the step that involves mixing and applying the resin mixture.
If the hole is over one-fourth of an inch wide, or if it’s an open hole that the resin mixture will not fill, cut a larger piece of cloth or mesh than the hole. It will enable you to achieve the best results. You may need to add more than one layer of fabric for large cavities.
Mix the Polyester Resin and Hardener
Mix the amount of polyester resin you think you need into a mixing container. Most kits have a mixing ratio of 1/2, 1/2, or even 1/5th of the volume, mixed with an equal amount of hardener.
For a more accurate colorant, add the component from the kit that came with the tube. For instance, you can mix five parts white with 1 part brown and 20 parts of resin. After the polish has been thoroughly opaque, add the white colorant to the mix.
Mix the various ingredients into a mixing container until it is the consistency you want for your patch. It should be stiff to prevent running, drip, or sag. For flat repairs, it should be able to be tooled smoothly.
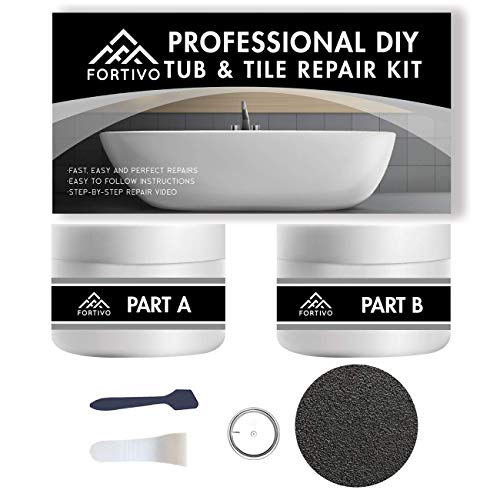
- Bathtub Repair Kit White - Our new and improved bathtub repair kit white has the superpower of restoring your cracked and worn-out bath tub. Repair every chip, scratch, and dents on your pristine-white bathtub with our tub and shower repair kit. Use our acrylic tub repair kit white to restore cracked ceramic, fiberglass, and porcelain shower sink.
- Bathtub Cracked Tile Repair Kit - This fiberglass sink repair is a must-have for all households. Our fiberglass tub repair kit saves you expensive bucks from repair shops. Whether you want to remedy your chipping acrylic and porcelain bathtub, enamel sink, or fiberglass tile, our tub repair kit is the best option. Our bath repair kit works well with any bathtub paint.
- Cracked Tile Repair - Getting professional-quality fiberglass repair kit for your damaged and chipped bathtub has never been easier. Our tub and tile refinishing kit gives a high-quality finish. The porcelain repair kit works seamlessly with any bathtub paint for no-fuss refinishing. No need to call a repair for restoration--just use our tub and tile refinishing kit!
- Acrylic Tub Kit Repair Kit White - Use our bath tub repair kit porcelain to treat and restore tiles, bathtubs, and even porcelain countertop. Our porcelain repair kit contains high-quality bath tub repair kit refinishing agent, which is easy to apply, dries fast. Restore your bathrooms former glory using our tub and tile refinishing kit.
- Porcelain Repair Kit - Dont wait for small dents and cracks to get worse. Unlike other tub repair kits, our tub and tile refinishing kit will let you tackle cracks, holes, chips, scratches in your sink, shower, and bathtub. Save time, effort, and money when you let our bathtub refinishing kit take the reins on your restoration jobs. Our bathtub porcelain repair kit is ideal for resurfacing and covering jobs in tub and tile repa
Prices pulled from the Amazon Product Advertising API on:
Product prices and availability are accurate as of the date/time indicated and are subject to change. Any price and availability information displayed on [relevant Amazon Site(s), as applicable] at the time of purchase will apply to the purchase of this product.
You should add the hardener according to the instructions on the kit. However, if you cannot find a sufficient amount, you might have to make an educated guess if you cannot find an adequate amount.
The more hardener you add, the faster the process and the less time it will take to set the resin. If you fail to add enough, the product will remain tacky for a long time.
Mix the repair material thoroughly. The longer you swirl the mixture, the better it will be. You want to ensure that the resin adheres evenly to the surface. However, since the hardener will solidify the wax, you can only expect a working time of around 10 to 15 minutes.
Apply the Concoction to the Fiberglass Tub
Mix the various components of a resin repair project using a flat tool such as a wooden tongue depressor or a putty knife. If you use fiberglass cloth, cut the damaged area and press it into the resin mixture. Before you apply the repair material, ensure it is evenly spread. The mixture should harden within about 2 hours.
Do Some Sanding and Finishing Touches
To avoid damaging the adjacent areas, sand the patch carefully and ensure it doesn’t get scratched. If you use fiberglass cloth, you might need to trim the fibers before proceeding. You might need to use a coarse sandpaper grit to eliminate the excess.
Mix up a couple of very fine and coarse grit sandpapers and work your way through the damaged area until it’s smooth if you need to apply another layer of the repair.
Maintenance Tips for Having a Fiberglass Tub

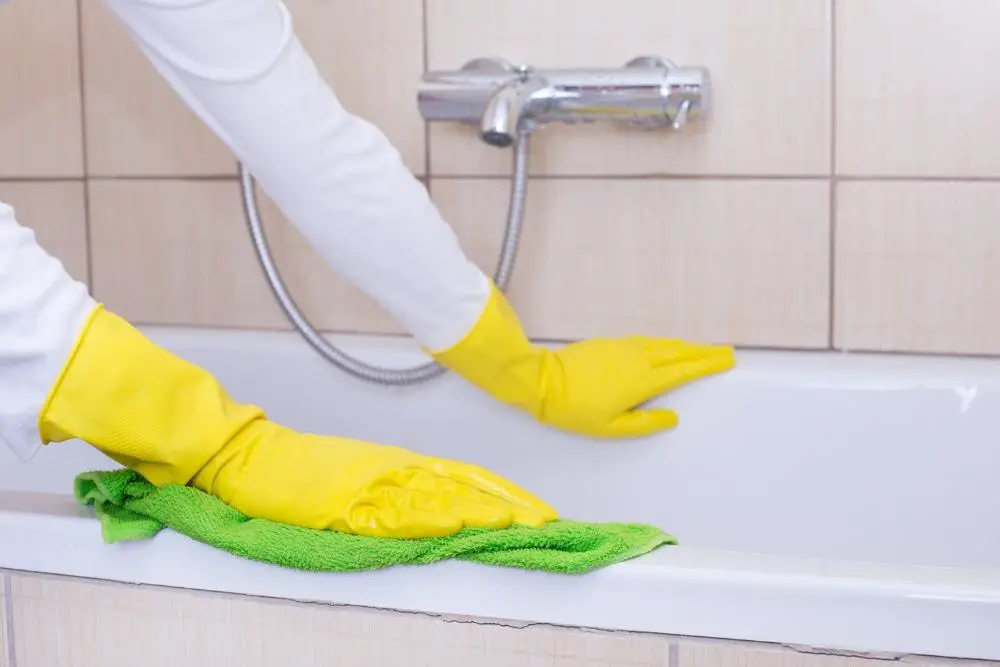
Although fiberglass bathtubs are easy to clean, they are prone to scratches. It is essential to clean them thoroughly.
Use non-abrasive cleaning agents such as a sponge, cloth, or brush to clean a fiberglass surface effectively. Never use any abrasive pads or powders on the surface.
Other cleaning agents, such as liquid laundry detergent or dishwashing soap, can also clean the surface. All-purpose cleaners, such as fluid 409 or liquid bathroom cleaners, can be used. Mild to moderate alkali solutions, such as baking soda or a combination of warm water and trisodium phosphate, can be used.
For stubborn areas, such as the bathtub rings, you can use a paste made from baking soda and vinegar. To make the paste, lightly wet the surface and gently rub it with a soft nylon brush or a sponge.
Frequently Asked Questions
What Are the Tools Needed to Fix a Fiberglass Tub?
This project requires minimal tools. Aside from sponges and household cleaners, you’ll also need some other items to get started.
You’ll also need the right equipment, such as goggles, masks, and gloves. A rotary tool, as well as delicate and intricate sandpaper, is also required. A two-component foam fiberglass mesh and cloth repair kit is additionally needed.
What to Look For in Buying the Right Bathtub Repair Kit?
A good repair kit is all-inclusive, which means it has everything you need to get the job done quickly and easily. Most kits come with various tools and materials, such as a mixing stick, a tray, and sandpaper if you need to add colorants to your favorite tub.
For more giant pits and cracks, it’s essential to use fiberglass mesh to reinforce the material and prevent it from getting damaged. You can do this by piercing small holes in the tub and adding two-component foam to the pits. In addition, it’s also possible to use fiberglass patches to fix the issue.
How to Assess What Kind of Repair Will You Do on the Tub?
You should start assessing the damage to determine the repair type you must make. Over time, heavy use can cause various materials, such as fiberglass and acrylic, to crack and chip. If the base is not adequately supported, it could cause a large hole.
Although superficial scratches, chips, and cracks may only require a simple filling and refinishing, a professional should address the underlying issue before proceeding. It can help prevent further damage.
Conclusion
To fix a fiberglass tub crack, you can usually purchase a kit with various tools and supplies to repair a damaged surround sound system. However, if the gap is too severe, you might want to hire a professional to fix it.
Like most home fixtures, extending the life of your tub is the best way to prevent problems. One of the first stages in this process is regularly cleaning it with the right type of cleaner.
It will protect against damages and keep it looking its best. However, it is essential to avoid harsh cleaning agents as these can eventually cause the coating to wear out.